- Design Logos, Flyers & Social Media Posts Clients Pay For
- Start Freelancing as a Graphic Designer
- Create Real Design Projects During Training
- Build Portfolio to Get Your First Client
- Learn Branding, Layout & Typography Skills
- Work on Print & Digital Design Projects
- Step-by-Step Guidance by Expert Trainers
- Turn Your Design Skills into Monthly Income
Corel Draw Graphic Designing Course
🎯 Learn CorelDRAW & Start Earning with Graphic Design
Live Online CorelDRAW Training to Create Logos, Social Media Designs & Start Freelancing – No Design Experience Required
COREL DRAW CERTIFICATION IN PAKISTAN
What is the CorelDraw X8 course?
CorelDRAW is vector design software, which means the artwork you make in it scales from a business card to a billboard without ever going blurry. That is why it stays the standard in print shops, sign makers and branding studios across Pakistan. Small business owners, printers, marketing staff and freelance designers all end up using it for the same reason. The tools are built around production work rather than experimentation, so once you know the shortcuts you can turn a client brief into a print-ready file quickly and repeat it the next time without starting over.
You do not need a training centre in your own city for this. Classes are live and online, so you join from home anywhere in Pakistan and share your screen back when you want your file checked.
The course is hands on from the first session. You produce vector artwork for logos, brochures, flyers, banners, packaging labels and social media ads, which is the mix most working designers here actually get asked for. You also cover layout, basic image editing and preparing files a printer will accept without sending them back. Type gets proper attention, since it is where most beginner work falls down. You learn the difference between artistic and paragraph text, how to fit text to a curve or a shape, how to convert text to curves before sending a file to print, and how to reshape individual letters when a logo needs it.
Looking for a CorelDRAW course you can attend without leaving home? LiveTrainingLab is Pakistan-based, and every session runs live and online, so students join from anywhere with a steady connection. Batches are small, timings are fixed, and the course runs 4 weeks from the interface to your final print-ready pieces.
LTL Corel Draw Targets
Design software changes every year and the advice around it changes faster. One person says learn Illustrator, another says CorelDRAW is finished, and meanwhile every print shop in the country is still working in it. If you are trying to work out where to start, this 4-week course gives you an order to follow, taught live on real files.
Here is a short breakdown of what the course covers and what you can do with it afterwards.
Get Qualified in CorelDRAW
Build a proper base in vector design over 4 weeks of live classes, taught in Urdu and English so nothing gets lost in translation. You go from the workspace and drawing tools through to shaping, fills, effects, text and print output in the CorelDRAW course. Each session ends with a task on a real file, and your trainer reviews it in the next class.
Get Certified After Finishing the Course
Get Hired or Start Freelancing in Design
CorelDRAW skills are hired for by print shops, signage companies, packaging suppliers, advertising agencies and in-house marketing teams, and logo and flyer work is one of the easier services to sell freelance. What decides your rate is your portfolio rather than your certificate, which is why the course is built around producing one.
What Will You Learn
- Drawing, Filling, and Adding Effects
- Working with templates
- Transforming Objects
- Using the Step and Repeat docker
- Working with Paragraph Text
- Layers and the Object Manager
- Importing, Publishing, Exporting
- Using the Image Adjustment Lab
How Our Live CorelDRAW Classes Run
Every session is live. Your trainer shares a screen, builds something in CorelDRAW in front of you, and explains each decision as it happens. Then you share your screen back, which is the part that changes how you work, because a wobbly curve or a badly placed node only gets fixed when somebody points at it.
The course runs 4 weeks with fixed class timings. Each session covers one set of tools, then you get a brief to complete before the next class. Your file gets opened and critiqued live, honestly but without anyone being embarrassed. Batches stay small enough that every student’s work gets looked at, not just the first two people who speak up.
Who This Course Suits
Complete beginners join most often, with no design background at all. Print and signage shop staff join because CorelDRAW is what sits on the machine in front of them and nobody ever trained them properly on it. Small business owners join to stop paying for every flyer and shop board. Photoshop users join for the vector side, since scaling artwork is where pixel software runs out.
You do not need drawing skills or a powerful computer. CorelDRAW runs comfortably on most laptops from the last few years. What you need is a steady internet connection and enough time each week to finish the brief between sessions.
Course Schedule
| Start Date | Time | Seats Left | Price | |
|---|---|---|---|---|
| 27-Aug-26 : Thu | 10:00 AM | 3 | 15999 Rs | Register Now |
| 28-Aug-26 : Fri | 12:00 PM | 2 | 15999 Rs | Register Now |
| 29-Aug-26 : Sat | 02:00 PM | 4 | 15999 Rs | Register Now |
| 31-Aug-26 : Mon | 06:00 PM | 4 | 15999 Rs | Register Now |
| 01-Sep-26 : Tue | 08:00 PM | 5 | 15999 Rs | Register Now |
| 02-Sep-26 : Wed | 10:00 PM | 4 | 15999 Rs | Register Now |
| 03-Sep-26 : Thu | 04:00 PM | 4 | 15999 Rs | Register Now |
We provides this course in following city of Pakistan
- Karachi
- Islamabad
- Rawalpindi
- Azad Kashmir
- Lahore
- Sialkot
- Gujranwala
- Multan
- Gujrat
- Faisalabad
- Sahiwal
and other major cities in Pakistan.


100% online courses
Start instantly and learn at your own schedule.

Flexible Schedule
Set and maintain flexible deadlines.

Learn the latest skills
with on-demand training and development programs

Shareable certificate
Earn a Certificate upon completion
Shareable on Social Media
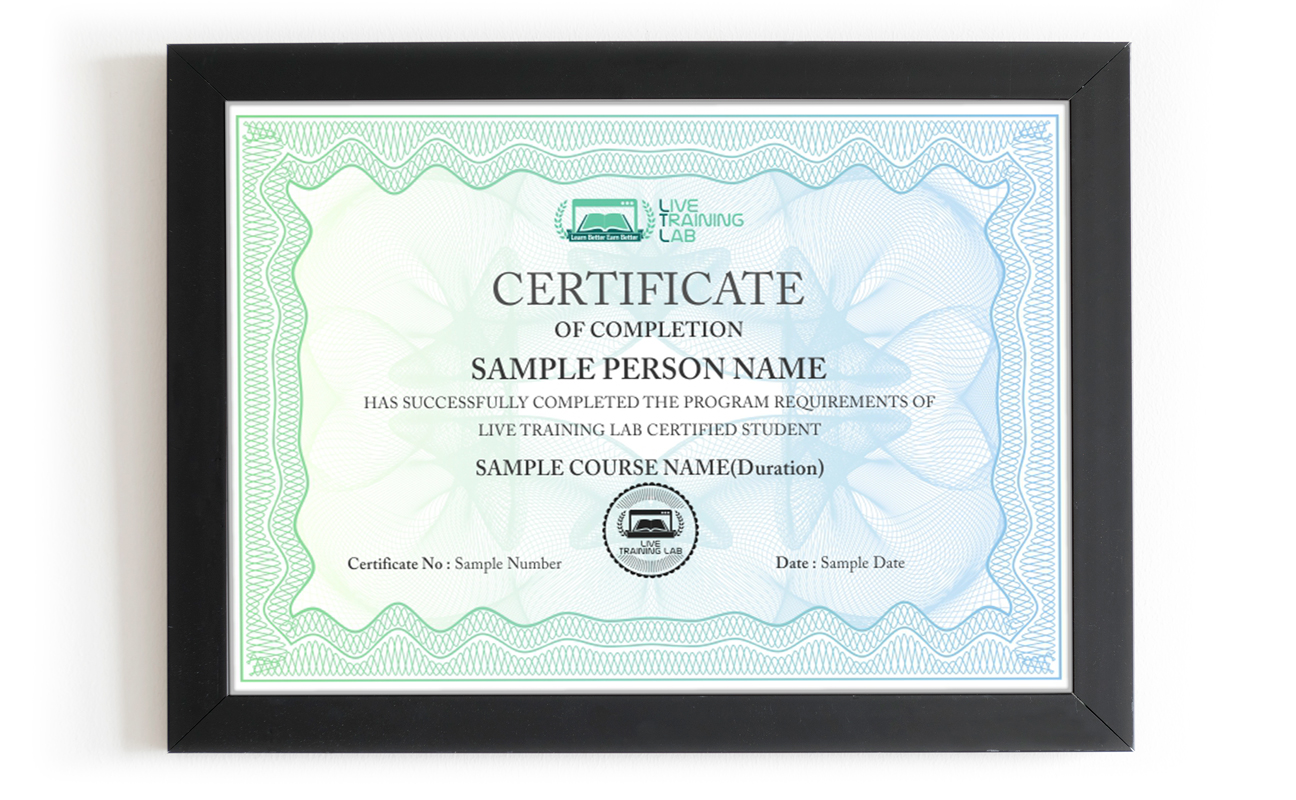
You can share your Certificate in the Certifications section of your social profile, on printed resumes, CVs, or other documents.
CURRICULUM
- The Create a New Document Dialog Box
- Drawing Tool Enhancements
- Scaling an Arrowhead
- New Corner Edits for Rectangles
- Revamped Mesh Fill Tool
- More Power to PowerTRACE
- New Pixel View
- New Document Palette
- Eyedroppers All Over the Place
- Adobe Application Compatibility
- Introducing Corel CONNECT
- Connecting with Your Content
- Clip Art and Photographs
- Fonts
- Templates
- The CorelDRAW Workspace
- Specific Toolbar and Dialog Values
- Working with Dockers
- Using the Toolbox
- Working with Toolbars
- Using the Color Palette
- The CorelDRAW Welcome Screen
- Opening Your First New Document File
- Opening Document Files
- Saving and Closing Documents
- Working with Templates
- Clipboard Commands
- Undoing and Redoing Changes
- Reusing assets across documents
- Importing and Exporting Files
- Choosing Export File Formats
- Setting View Mode
- Zooming and Panning Pages
- Special View Modes
- Using the View Navigator
- Using the View Manager Docker
- Working with document views
- Working with layers and stacking order
- Begin a Design with a Concept
- Setting Up the Page for the Logo
- Using the Polygon Tool to Design a Gear Shape
- Welding an Edge to a Typed Character
- A Brief Excursion into Gradient Fills
- Going 3D
- Adding Text to the Logo
- Align, Group, Scale, Flip and Print
- The Test Drive Cross-Reference
- Setting Up Your Document Page
- Naming Pages
- Page Commands
- Using The Ruler
- Setting up rulers and page guides
- Grids
- Working with Guidelines, Dynamic Guides, and Guide Layers
- Working with Dynamic Guides
- Controlling the Guides Layer
- Using the Dimension Tools
- The Smart Drawing Tool
- Using the Rectangle Tool and Property Bar
- Using the Ellipse Tool and Property Bar
- Using Polygons and the Property Bar
- Using the Spiral Tool
- Using the Graph Paper Tool
- Using Perfect Shape Tools
- Using the Convert Outline to Object
- Basic Object Selection
- Moving Objects
- Transforming objects
- Applying Precise Transformations
- Controlling the Order of Things
- Introducing the Curve Tools
- Using the Artistic Media Tool
- How to Draw in CorelDRAW
- Drawing Arcs with the 3-Point Curve Tool
- Using the Bézier and Pen Tool
- Editing Bézier Paths
- Controlling Freehand and Bézier Tool Behavior
- Working with Compound Paths
- Reshaping Things
- Shaping and Reshaping Object Shapes
- Working Examples of Object Shaping
- Fillet/Scallop/Chamfer
- PowerClips
- The Knife Tool
- Using the Eraser Tool
- Using the Virtual Segment Delete Tool
- Cropping an Illustration
- Using the Smudge Brush
- Using the Free Transform Tool
- The Roughen Brush
- CorelDRAW’s Text Tool
- The Text Bar and Special Paragraph Formatting
- Formatting Paragraph Text
- Wrapping Text Around Other Shapes
- Embedding Objects into Text
- Changing and Proofing Formatted Text
- Text and Styles
- Font Families and Font Styles
- Finding the Font you Need
- Finding and Saving Important Characters
- Font Etiquette: Using Fonts with Style and Appropriateness
- Using CorelDRAW’s Writing Tools
- Using the Proofing Tools
- Setting Spell Checker Options
- Using Grammatik
- Using the Thesaurus
- Using Quick Correct
- Finding and Replacing Text and Special Characters
- Finding and replacing text properties
- Filling objects
- Using the Color Palette
- From Uniform to Non-Uniform Object Filling
- Uniform Color Fill Options on the Property Bar
- Applying a Fountain Fill
- Applying Pattern Fills
- Applying Texture Fills
- Applying PostScript Fills
- Applying Mesh Fills
- Sampling and Applying Fill Colors
- Applying Outline Pen Properties
- Outline Pen Options and the Property Bar
- Using the Outline Tool
- Exploring the Outline Pen Dialog
- Turning an outline into an object
- Digital Color Terms and Definitions
- Using Color-Related Dockers
- Moving from Color Models to Other Ways to Define Color
- Using Fixed and Custom Palettes
- Color and Color Correction
- The Optical Principle of Perspective
- Experiments in Perspective
- Navigating the Interactive Markers
- Using the Extrude Tool and Property Bar
- Using Vector Extrude Presets
- Using the Extrude Docker
- Controlling Extrude Complexity Using Facet Size
- Creating Envelope Effects
- Constraining single arc envelopes
- Using Envelope Shapes Between Objects
- Mastering Distortion Effects
- Using the Distort Tool and the Property Bar
- Using Distortion Presets
- Blend and Contour Effects: Similarities with Distinctions
- Blending as Illustration Shading
- The Blend Tool and Property Bar
- Creating a Simple Blend Effect
- Looking at the Components of a Blend
- Editing Blend Effects
- Using the Blend Docker
- Tapping into Contour Effects
- Exploring CorelDRAW’s Contour Effects
- Using the Contour Tool and Property Bar
- Controlling Contour Acceleration
- Using Contour Presets
- Using the Contour Docker
- What’s Behind a Lens Effect
- Using the Lens Docker
- Exploring the Lens Effects
- Using Lens Options
- Clearing Things Up with the Transparency Tool
- Using the Transparency Tool and Property Bar
- Using Transparency Operations (Merge Modes)
- Creating Multi-Stage Transparencies
- Pattern and Texture Transparencies
- Using Transparency Freeze
- Using the Bevel Effect
- Using the Drop Shadow Effect
- The Properties of a Pixel-Based Image
- Importing Bitmaps into a Document
- Placing and modifying an image
- An Everyday Bitmap-Oriented Workflow
- Cropping a Placed Photograph
- Nondestructive Cropping
- Masking Through Nondestructive Cropping
- Boolean Operations as a Trimming Technique
- Working with Alpha Channels and Image Transparency
- Bitmaps to Vector Art: Using PowerTRACE
- The Building Block of Digital Photos: The Pixel
- Turning a Snapshot into a Photograph
- Creating a fantasy composition
- Performing Subtle Image Edits
- Creating an Animated GIF
- Printing a Document to a Personal Printer
- Setting Print Options
- Previewing Your Printed Document
- Setting Printing Preferences
- Corel’s Duplexing Wizard
- Using the Collect for Output Wizard
- Print Merge
- Web Page Navigation Buttons and Hotspots
- CorelDRAW’s Internet Toolbar
- Publishing Web Documents
- Exporting graphics for web use
- Collecting Together Reference Material
- References
- Final Assessment Task
- Final Presentation
- End of course
Batches, Timings and the 4-Week Plan
The course runs for 4 weeks in live batches. Message us for the current class timings and the next start date, because seats in each batch are limited on purpose.
Week one covers the workspace, document setup, the drawing tools and basic object handling, which is the foundation everything else sits on. Week two is shaping and structure, so curves, node editing, welding and trimming, PowerClips and layers. Week three is fills, outlines, colour and effects, including gradients, transparency, contours, blends and drop shadows. Week four is text and output, covering paragraph and artistic text, converting text to curves, working with placed images, and preparing files a printer will actually accept.
Getting Print Files Right
This is where most self-taught CorelDRAW users lose money. A design that looks perfect on screen comes back from the press with the wrong colours, missing fonts, or a logo cut off at the edge. The press is rarely at fault. The file was set up in RGB, the text was never converted to curves, and nobody added bleed.
Week four deals with all of it. Colour modes and why CMYK matters, resolution for placed images, bleed and safe margins, converting text to curves before a file leaves your machine, and using Collect for Output so the printer gets everything in one folder. Getting these right is what separates a designer a print shop calls back from one they quietly stop working with.
Why Choose LiveTrainingLab for This Course?
CorelDRAW is vector software, so it is used for logos, illustrations, flyers, packaging, signage and anything else that has to print cleanly at any size. In Pakistan it is especially common in print shops and sign making, which is why it is often the more employable of the two main design programs here.
The basics come quickly. Drawing shapes, filling them and adding text are straightforward within a week or two. What takes longer is node editing, working with curves and preparing files correctly for print, and those are exactly the parts where having someone watch your screen saves you months.
None at all. Most students arrive having never opened design software, and week one assumes exactly that. What matters more than background is doing the weekly task, because the people who fall behind are usually the ones who skipped two in a row.
You can produce usable work within a few weeks and still be improving a year later. This course runs 4 weeks and takes you from the workspace to finished, print-ready pieces, which is enough to start small paid jobs. The more advanced end, like complex illustration and colour management for print, keeps developing with practice.
They do different jobs rather than compete. CorelDRAW handles vector work, so logos, layouts and anything going to print at size. Photoshop handles pixels, so photo editing, retouching and screen graphics. Most working designers use both, and this course covers where the handover between them sits.
Language should not be the thing that stops you learning this. Plenty of capable people give up on CorelDRAW courses because everything arrives in English at a pace they cannot follow. Our trainers teach in Urdu and English together, so terms like node, bezier curve, bleed and CMYK get explained in whichever language lands. Sessions run live at fixed timings across the 4 weeks.
Not really. CorelDRAW is lighter on hardware than most people expect, and any laptop from the last few years will run it comfortably for the work in this course. Files only get heavy once you start placing large photographs into a layout, and your trainer will show you how to keep those manageable.
It can be, particularly in Pakistan where print and signage work is everywhere and most of it runs on CorelDRAW. Logos, flyers, wedding cards, shop boards and packaging are all steady work. What decides whether it becomes a career is the portfolio you build, not the software you know.
Because every class is live and somebody looks at your work. You share your screen, your trainer opens your file and shows you why the curve looks lumpy or why the print shop rejected it. Batches stay small enough that everyone gets that, and after 4 weeks you have finished pieces rather than notes.
You will need access to CorelDRAW to complete the practical work, since watching without doing teaches very little here. Your trainer will go through the current options in the first session, including the free trial and the subscription and one-off licence routes. Nothing else needs buying, and most of what you learn transfers to other vector software if you switch later.
CorelDRAW is lighter than most design software, so any laptop from the last few years will handle the coursework. Classes run on Zoom, so a normal broadband line or a stable mobile connection is enough, though you will want it steady for screen sharing. A phone will not work for the practical parts. If your connection drops mid-session, tell the trainer and we will help you cover what you missed.
₨32,000.00₨16,000.00